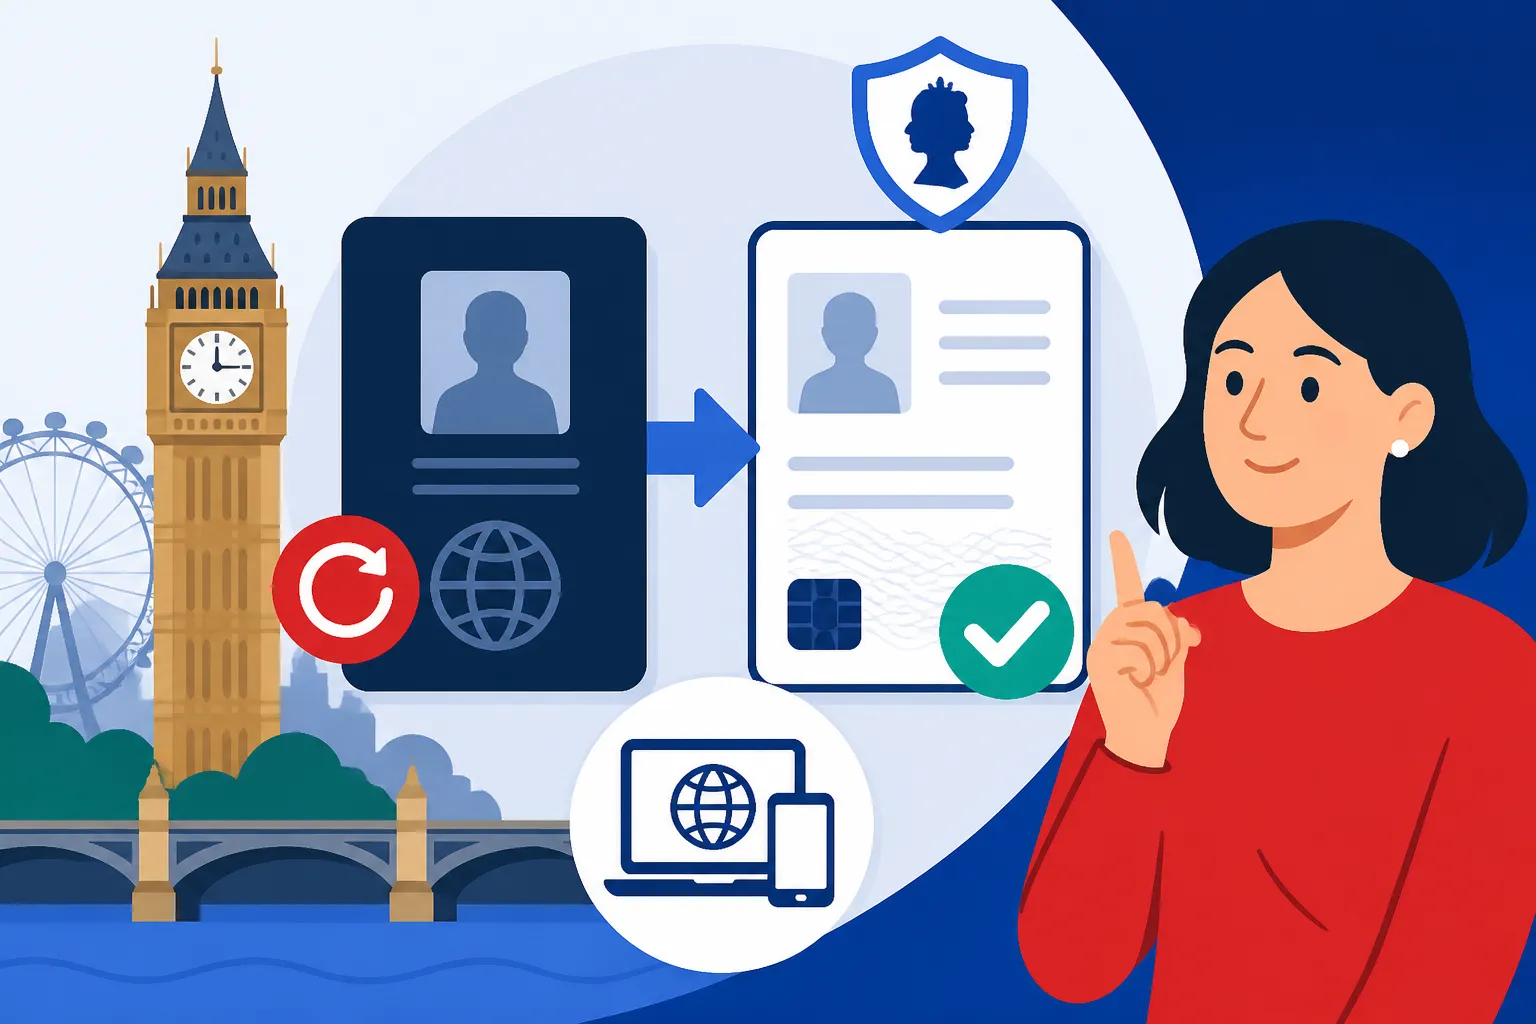
How to Renew or Replace Your UK Visa or eVisa
Oh, the sheer anxiety that creeps in as your UK visa or eVisa approaches its expiry date, or worse, if you find yourself frantically searching for a lost Biometric Residence Permit (BRP)! It's a worry shared by nearly every expat I've met, feeling that knot in your stomach knowing your very right to be here hinges on a piece of paper or, increasingly, a digital record. This guide is here to untangle that stress, offering a comprehensive, step-by-step walkthrough on how to renew or replace your UK visa or eVisa, ensuring you can keep your life in the UK firmly on track.
Why Keeping Your UK Visa or eVisa Up-to-Date is Absolutely Essential
Let's be brutally honest: your visa or eVisa isn't just a document; it's your lifeline to living, working, and thriving in the UK. Neglecting its expiry or not replacing it swiftly if it goes missing can plunge you into a bureaucratic nightmare that nobody wants to experience. The stakes are incredibly high, and understanding the gravity of the situation is the first step towards proactive management.
The Legal and Practical Ramifications of an Expired Visa
Imagine this scenario: you're at work, everything's going smoothly, and then your manager asks for an updated right-to-work check, only for you to realise your visa expired last week. Panic sets in. And rightly so. An expired visa isn't just an inconvenience; it can render you an overstayer, which is a serious immigration offense in the UK. This can lead to immediate termination of employment, as it becomes illegal for your employer to keep you. Your landlord might also find themselves in hot water for housing someone without a valid immigration status, potentially leading to eviction notices.
Beyond employment and housing, think about daily life. Access to the National Health Service (NHS), even if you've paid the Immigration Health Surcharge (IHS), can become complicated, especially if your GP surgery updates its records. Your bank might freeze your account if they perform routine checks and find your immigration status is no longer valid, making it impossible to access your funds. And don't even get me started on travel – trying to re-enter the UK with an expired visa is an open invitation for a lengthy interview at the border, potential detention, and even being refused entry. The fear of being unable to re-enter the country is very real, and it’s a situation you simply must avoid.
Understanding the Shift from Physical Visas to eVisas
For many years, the tangible Biometric Residence Permit (BRP) card was the physical embodiment of your right to reside in the UK. You could hold it, show it, and it felt secure. However, the Home Office has been progressively moving towards a fully digital immigration system, where your immigration status is linked to your passport and accessible online as an eVisa. This digital transformation aims to streamline processes and reduce the reliance on physical documents that can be lost, stolen, or damaged.
While the BRP will continue to be issued for some until its phasing out, most new visa grants and renewals now result in an eVisa. This means you won't necessarily get a physical card, but rather access to your immigration status through your UK Visas and Immigration (UKVI) account online. This digital format, while convenient for some, can feel less reassuring to those used to a physical document. It means you're responsible for keeping your online account secure, remembering your login details, and ensuring your passport details are always up-to-date in the system. The convenience comes with a new layer of digital responsibility, a learning curve for many of us who remember a simpler, paper-based world. If you're still holding a BRP, remember it has an expiry date, and eventually, you'll transition to an eVisa, making it crucial to understand "How to Get a Biometric Residence Permit or eVisa in the UK".
Navigating the Different Routes: Renewing Your UK Visa
So, you know your visa is expiring, and you're ready to do something about it. Good on you! Renewing your visa isn't a single, straightforward path for everyone, as the process differs significantly depending on your current visa type and your circumstances. But the golden rule remains: do not wait until the last minute.
Who Needs to Renew and When to Start the Process
First things first, most temporary visa routes in the UK require renewal if you wish to continue your stay beyond the initial grant. This includes popular categories like the Skilled Worker Visa, Student Visa, and many Family Visas (such as the Spouse or Partner Visa). For example, if you're on a Skilled Worker Visa, you'll likely need to renew it after a few years before you hit the five-year mark, which then opens up the possibility of Indefinite Leave to Remain (ILR). Similarly, international students often renew their student visas if their course extends beyond the initial period or if they're progressing to a higher level of study. If you’re here on a Student Visa (Route), knowing your academic progression is key to timely renewal.
The absolute critical piece of advice here is timing. You generally cannot apply to renew your visa too early, but applying too late can have dire consequences. For most in-country applications, you can apply up to three months before your current visa expires. However, some specific routes, particularly family visas, might allow applications a little closer to the expiry, sometimes even up to 28 days before. My personal recommendation, and one I've shared countless times with fellow expats, is to aim for three months before the expiry date. This gives you ample breathing room in case of unforeseen delays, requests for further information, or technical glitches. Trying to rush an application a week before expiry is a recipe for immense stress and potential complications. Remember, if your visa expires before you've submitted a valid application, you become an overstayer, and your situation changes drastically.
The Step-by-Step Application Process for Visa Renewal
Once you've confirmed your eligibility and the optimal timing, the application process typically follows a structured path. While specifics vary by visa type, the general flow is quite consistent:
-
Gather Your Documents: This is perhaps the most laborious but critical step. You'll need your current passport, your existing visa details (BRP or eVisa access), proof of your continued eligibility (e.g., a new Certificate of Sponsorship from your employer for a Skilled Worker Visa, a Confirmation of Acceptance for Studies for a Student Visa, or ongoing evidence of your relationship for a Spouse Visa). Financial evidence, proof of accommodation, and sometimes a new Tuberculosis test are also common requirements. Don't underestimate this step; missing even one document can lead to delays or refusal. Think about all the details you provided for your initial visa application and prepare to update them. Check out "How to Get Your Documents Ready for a UKVI Application" for a detailed checklist.
-
Complete the Online Application Form: The Home Office uses online portals for almost all in-country visa applications. You'll need to create or log in to your UKVI account on GOV.UK. Take your time with this form. It's extensive and asks for a lot of detail, much of which you've probably provided before. Double-check every single entry. A small typo can cause big headaches. This is not the time to rush through clicks.
-
Pay the Fees and Immigration Health Surcharge (IHS): This is where the wallet takes a hit. You'll pay the application fee relevant to your visa category and, crucially, the Immigration Health Surcharge again. The IHS grants you access to the NHS for the duration of your renewed visa, just as it did for your initial one. This fee has increased over the years and can be substantial, so budget for it. The system usually calculates it automatically based on your visa length. To understand more about this cost, you might want to read "Understanding the Immigration Health Surcharge (IHS) and NHS Access (2027)" and "Do I Have to Pay for the NHS as a Visa Holder in the UK?".
-
Book and Attend Your Biometrics Appointment: After submitting your online form and paying the fees, you'll be prompted to book an appointment at a UK Visa and Citizenship Application Services (UKVCAS) service point. Here, your fingerprints and a photo will be taken. This is a vital part of verifying your identity. Make sure you bring all the required documents and your appointment confirmation.
-
Submit Supporting Documents: At your biometrics appointment, you can often scan and upload your documents, or you might have uploaded them yourself beforehand. Ensure everything is clear, correctly labelled, and easy for caseworkers to review.
-
Wait for a Decision: This is often the hardest part – the waiting game. Processing times can vary hugely, from a few weeks to several months, depending on the visa type, current caseloads, and whether you opted for a priority service (if available). During this time, you generally have "Section 3C Leave," meaning you can continue to live, work, or study under the same conditions as your expiring visa, even if your old visa expires while your application is pending. However, you should generally avoid international travel during this period, as it can complicate your application and potentially invalidate your Section 3C leave. For more on timelines and costs, refer to "Understanding the Cost and Timeline of the UK Visa Process".
Common Challenges and Tips for a Smooth Renewal
Renewing a visa, while not as daunting as the initial application for some, still comes with its own set of hurdles. One of the biggest challenges is proving ongoing eligibility, especially if your circumstances have changed. For instance, a Skilled Worker might have changed jobs, requiring a new Certificate of Sponsorship (CoS), or a partner visa applicant might need to demonstrate continuous financial stability. It's often not enough to just re-submit old documents; you need to show current, up-to-date evidence that you still meet all the criteria.
Another common pitfall is the assumption that everything will be the same as last time. Immigration rules can and do change. A requirement that wasn't there a few years ago might be mandatory now. Always check the very latest guidance on GOV.UK for your specific visa route.
Here are some tips to make the process smoother:
- Start Early: Seriously, I cannot stress this enough. Give yourself maximum time.
- Organise: Create a dedicated folder (digital and physical) for all your immigration documents. Label everything clearly.
- Double-Check Everything: Read the guidance documents multiple times. Get a trusted friend or colleague to review your application form before submission.
- Seek Advice: If you're in doubt, particularly with complex cases or changes in circumstances, consider consulting an immigration lawyer or advisor. Their expertise can save you a lot of grief and money in the long run.
- Keep Records: Always keep copies of everything you submit, including proof of postage or digital submission confirmations.
- Budget Accordingly: Factor in all costs – application fees, IHS, biometrics, potential priority services, and professional advice.
Lost, Stolen, or Damaged: How to Replace Your UK Visa or eVisa
Life happens, and sometimes, despite our best efforts, important documents go missing or get damaged. The thought of losing your BRP, or finding your eVisa access compromised, can send shivers down your spine. But take a deep breath; there's a process for this too.
Immediate Steps When Your BRP or eVisa Details Go Missing
If your Biometric Residence Permit (BRP) is lost, stolen, or damaged, your immediate response is crucial. The first and most important step is to report it to the Home Office immediately. You can do this online through the GOV.UK website. Failing to report it could lead to complications later. If it was stolen, you must also report it to the police and get a crime reference number. This number will be essential for your replacement application.
For those with an eVisa, the situation is slightly different but still requires vigilance. If you suspect your UKVI account has been compromised, or if your passport linked to your eVisa is lost or stolen, you need to contact the Home Office (UKVI) directly to report it. They can guide you on the steps to secure your account or update your passport details. It's crucial to ensure the passport linked to your eVisa is always current and accessible. Imagine trying to fly back into the UK, and your eVisa is linked to a passport you no longer have! This is why staying on top of your digital identity is just as important as protecting a physical document.
The Application Process for a Replacement Biometric Residence Permit (BRP)
Once you've reported your lost, stolen, or damaged BRP, the next step is to apply for a replacement. This is done through the "Replace your BRP" service on the GOV.UK website.
- Complete the Online Application: This form is specifically for BRP replacements. You'll need to provide details of your original visa, how your BRP was lost/stolen/damaged, and the police report number if applicable.
- Pay the Replacement Fee: There's a fee for replacing your BRP, which is separate from your initial visa application fee or IHS.
- Biometrics: You will almost certainly need to attend another biometrics appointment to provide your fingerprints and photo again. This helps confirm your identity for the new card.
- Wait for the New BRP: Once approved, a new BRP card will be sent to you, usually within a few weeks. The card will have the same expiry date as your original visa, not a new one.
It's important to remember that if your BRP is lost or stolen while you are outside the UK, the process is slightly different. You'll typically need to apply for a "replacement BRP visa" to allow you to re-enter the UK, and then apply for a new BRP once you are back in the country. This can be a very stressful situation, so ensure you have travel insurance that covers emergency document replacement if you frequently travel outside the UK.
Retrieving Your Digital eVisa: A More Streamlined Approach
The shift to eVisas significantly simplifies the replacement process compared to BRPs, which is one of its major advantages. If your eVisa details are 'missing' or inaccessible (e.g., you've forgotten your UKVI account login details), or your linked passport has expired or been replaced, the steps are generally more straightforward:
- Access Your UKVI Account: Your eVisa status is primarily accessed through your UKVI account on GOV.UK. If you've forgotten your login details, there's usually a "forgotten password" or "forgotten user ID" recovery process.
- Update Passport Details: If you've received a new passport, it's absolutely vital to update these details in your UKVI account as soon as possible. Your eVisa is digitally linked to your passport, and trying to travel with an old, unlinked passport can cause serious issues at border control. The process for this is usually within your online account, allowing you to scan and upload your new passport details.
- Verify Your Identity: In some cases, especially if there's suspicion of compromise, you might be asked to go through additional identity verification steps.
The beauty of the eVisa system is that your immigration status itself isn't "lost" – it's always there in the Home Office's digital records. The challenge is usually accessing or linking it correctly to your current identity documents. This makes it far less stressful than the physical BRP replacement process, which can sometimes leave you without proof of status for weeks. This digital format also removes the stress of physical theft or damage. You can find more specific guidance in "How to Renew or Replace Your UK Visa or eVisa" (this is a self-referential link which is fine in the context of a pillar content structure as per instructions).
Costs, Processing Times, and Key Considerations for Visa Management
Managing your UK visa or eVisa isn't just about forms and documents; it's also about understanding the financial implications and setting realistic expectations for how long everything takes. These factors are crucial for planning your life in the UK.
Breaking Down the Fees and Charges Involved
Let's not beat around the bush – applying for or renewing a UK visa is expensive. The UK government charges significant fees for applications, and these costs are subject to change, often upwards.
- Application Fees: The core fee for your visa application varies significantly by visa route. A Skilled Worker visa renewal, for example, will have a different fee from a Spouse visa renewal. These fees are usually non-refundable, even if your application is refused.
- Immigration Health Surcharge (IHS): This is a substantial charge that grants you access to the NHS. It's calculated based on the length of your visa and is paid upfront. As I mentioned before, this is a cost you simply cannot avoid if you're on most long-term visa routes. For a detailed breakdown of costs, including the IHS, you should definitely consult "The Cost of Healthcare in the UK: A Complete Breakdown for Foreigners (2026)" and "How Much Is the Immigration Health Surcharge in the UK in 2026?".
- Biometrics Fee: Sometimes, there's a small additional fee for attending your biometrics appointment at a UKVCAS service point, especially if you opt for a premium location or additional services.
- Priority Services: If you're in a hurry and available for your visa type, you can often pay an extra fee for a "priority" or "super priority" service to get a quicker decision. These can be very expensive, adding hundreds or even thousands of pounds to your application, but for some, the peace of mind and speed are worth it.
- Replacement BRP Fee: As mentioned, replacing a lost or stolen BRP incurs a separate fee.
These costs quickly add up, so it's essential to factor them into your financial planning. Many expats save specifically for these recurring visa costs.
Realistic Expectations for Processing Times
The waiting game is arguably the most nerve-wracking part of any visa application. While the Home Office publishes service standards, actual processing times can fluctuate widely due to caseloads, policy changes, and individual application complexities.
- Standard Applications: For most in-country visa renewals, standard processing can take anywhere from a few weeks to several months. Skilled Worker visas might be quicker, sometimes 4-8 weeks, while complex family applications could stretch to 6 months or more. Always check the current published processing times on GOV.UK, but take them as a general guide, not a guarantee.
- Priority and Super Priority: These services offer decisions typically within 5 working days (priority) or even the next working day (super priority), provided your application is straightforward and eligible. The significant extra cost reflects this expedited service.
- Impact on Travel: As discussed, it's generally advised to avoid international travel while your visa application is pending, especially if you applied from within the UK. Leaving the Common Travel Area (UK, Ireland, Channel Islands, Isle of Man) could be considered an abandonment of your in-country application, even if you have Section 3C leave. If you absolutely must travel, seek legal advice beforehand.
Proactive Planning and Expert Assistance
Staying on top of your immigration status requires proactive planning. Mark your visa expiry date in multiple calendars, set reminders, and start gathering documents well in advance. Keep all official correspondence from UKVI, even if it seems minor. Consider setting up a dedicated file, either physical or digital, where all your immigration-related documents and notes are stored securely.
While many individuals successfully navigate the renewal process themselves, there are times when expert assistance is invaluable. If your case is complex, if your circumstances have changed significantly, or if you're feeling overwhelmed, don't hesitate to reach out to an OISC (Office of the Immigration Services Commissioner) regulated immigration advisor or solicitor. They can provide tailored advice, review your application, or even handle the entire process for you. This investment can save you from costly mistakes and immense stress.
When it comes to the logistics of moving your life to or within the UK, should your visa status lead to relocation, services like Sirelo can be a lifesaver. They help compare international removal companies, taking some of the practical strain off your shoulders during a period of administrative complexity. Also, consider your health coverage during transition. While the IHS covers NHS access, many expats opt for private health insurance for peace of mind, quicker appointments, or access to specialist care without long waiting lists. Companies such as Cigna Global offer robust expat health insurance plans that can provide continuity and comprehensive coverage, irrespective of any temporary gaps or changes in your NHS eligibility due to visa processing.
Looking Ahead: Settlement and Citizenship Paths After Renewal
Renewing your visa isn't just about extending your stay; it's often a stepping stone towards a more permanent future in the UK. Understanding this trajectory can help you plan your renewals strategically, aligning them with your long-term goals.
The Journey Towards Indefinite Leave to Remain (ILR)
For many expats, repeated visa renewals eventually lead to the coveted status of Indefinite Leave to Remain (ILR), also known as settlement. ILR essentially grants you the right to live, work, and study in the UK without any time restrictions or immigration controls. Most work and family visa routes offer a path to ILR after a continuous period of lawful residence, typically five years.
Each successful visa renewal contributes to this continuous period. For example, if you're on a Skilled Worker visa, you might receive an initial visa for three years, renew it for another two, and then apply for ILR. The key is to maintain unbroken lawful residence. Any gaps in your immigration status or significant breaches of visa conditions could jeopardise your ILR application. It's a long game, and each renewal brings you closer to that significant milestone. To understand this better, you can explore "How to Apply for Indefinite Leave to Remain (Settlement) in the UK".
What Happens After ILR: Considering British Citizenship
Once you've secured Indefinite Leave to Remain, you're free from the constant cycle of visa renewals. However, some expats choose to take the final step: applying for British Citizenship. This offers full rights as a UK citizen, including the right to a British passport and the ability to vote in all elections.
Typically, after holding ILR for at least 12 months (or immediately if you are married to a British citizen), you can apply for naturalisation as a British citizen. This process involves proving good character, meeting specific residency requirements (e.g., limits on absences from the UK), demonstrating knowledge of English, and passing the "Life in the UK" test. It's a more involved process than ILR, with its own set of forms, fees, and requirements, but for many, it's the ultimate goal. If this is on your horizon, reading "British Citizenship: How to Apply After Settlement (2027)" would be a great next step.
Maintaining Your Status and Future Travel
Even after you achieve ILR, there are still responsibilities. While ILR is "indefinite," it can be lost if you spend too much time outside the UK (typically two years or more continuously). If you plan extended absences, understanding the rules and seeking advice is crucial. For British citizens, the requirements are different, but it's always good practice to keep your passport renewed and your travel documents in order.
For all stages, from initial visa to citizenship, meticulous record-keeping is your best friend. Keep copies of every visa application, every document submitted, every decision letter. This paper trail (or digital trail!) is invaluable if you ever need to prove your immigration history or resolve any discrepancies. It's about being organised and always thinking a few steps ahead in your journey here in the UK.
Here's a quick overview of some common visa scenarios and their typical renewal/replacement considerations:
| Visa Type (Example) | Renewal Window (in-country) | Key Documents for Renewal | Replacement BRP/eVisa | Path to ILR |
|---|---|---|---|---|
| Skilled Worker Visa | Up to 3 months before expiry | New CoS, payslips, bank statements, current passport | Apply via 'Replace BRP' or update passport for eVisa | Yes, typically after 5 years |
| Student Visa | Up to 3 months before expiry | New CAS, academic progress report, financial proof | Apply via 'Replace BRP' or update passport for eVisa | No direct path, but can switch to work visa |
| Spouse/Partner Visa | Up to 28 days before expiry | Proof of relationship, financial eligibility, accommodation | Apply via 'Replace BRP' or update passport for eVisa | Yes, typically after 5 years |
| Youth Mobility Scheme | Not renewable in most cases | N/A (single grant) | Apply via 'Replace BRP' or update passport for eVisa | No direct path |
This table provides a snapshot, but always check the most current and specific guidance for your individual circumstances on the GOV.UK website. The nuances of immigration law mean that general advice needs to be supplemented with detailed, personal research.
Disclaimer
The information provided in this guide is for general informational purposes only and does not constitute legal advice. Immigration rules and regulations in the UK are complex and subject to frequent change. While every effort has been made to ensure the accuracy of the information, it may not be current or applicable to your specific situation. You should always consult with an OISC-regulated immigration solicitor or advisor for advice tailored to your individual circumstances. Neither the author nor the publisher accepts any responsibility for any loss which may arise from reliance on information contained in this guide.