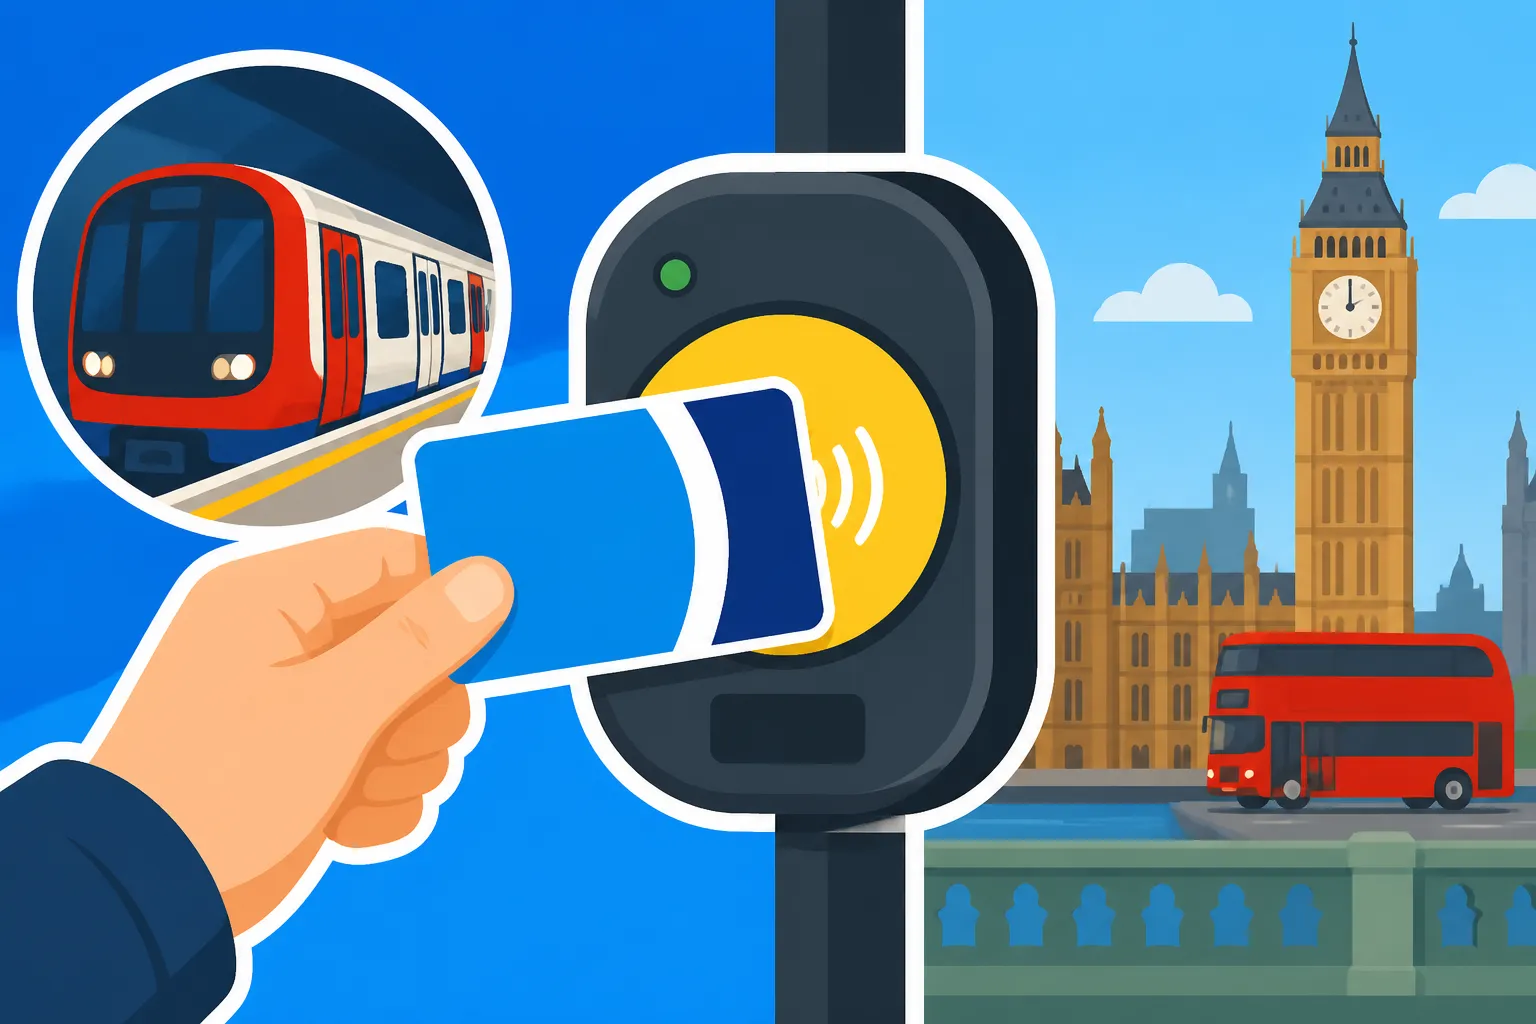
How Do I Use an Oyster Card in London?
Ah, the Oyster card! You’ve landed in London, perhaps fresh off the plane, battling jet lag and a million things on your to-do list, only to be faced with a public transport system that feels like a labyrinth. Don't worry, you're not alone in that initial head-scratching. Understanding how to navigate the Tube, buses, and trains efficiently is one of the first hurdles for any newcomer, and this guide is here to unravel the mystery of the Oyster card, making your journeys smoother, cheaper, and far less stressful.
Getting Started: What is an Oyster Card and Why You'll Love It
When you first arrive in London, especially if you're coming from a country with a different public transport payment system, the options can seem overwhelming. There's the iconic red roundel of the Underground, the double-decker buses, the DLR, Overground, and even the "Elizabeth line" now – all with different ways to pay. At the heart of it all for many, though, is the trusty Oyster card. It’s not just a piece of plastic; it's your key to unlocking London's vast transport network with ease.
The Basics: What it is and How it Works
An Oyster card is a smartcard that you load with money (known as 'Pay As You Go' credit) or Travelcards, allowing you to pay for journeys on most public transport services in London. Think of it as a pre-paid debit card specifically for travel. When you start a journey, you "touch in" at a card reader, and when you finish, you "touch out." The system then calculates the fare for your journey based on the zones you’ve travelled through and the time of day (peak or off-peak).
It simplifies everything immensely. Instead of fumbling for change for bus tickets or buying individual paper tickets for the Tube, which are notoriously more expensive, you just tap and go. The technology behind it automatically ensures you get the best value for your day's travel, a concept we'll dive into more detail about later with daily caps. It's truly a lifesaver when you're still figuring out which way is up in this bustling city, trying to find your way to a new flat or just exploring.
The Benefits for Expats and Tourists
For us expats, the Oyster card quickly becomes an indispensable item in our wallets. Beyond the sheer convenience, there are significant cost savings. Single paper tickets are often double or even triple the price of an Oyster or contactless fare for the same journey. If you're planning on being in London for more than a few days, or if you've just moved here, relying on individual paper tickets will drain your wallet faster than a London cabbie can say "Mind the gap."
Another huge benefit is the daily and weekly capping system. This means that no matter how many journeys you make in a single day or week, you'll never pay more than the cost of an equivalent daily or weekly Travelcard. The system calculates this automatically, so you don't have to worry about buying the right pass in advance – just keep tapping, and the Oyster card handles the rest. This feature is particularly excellent for tourists who might do a lot of sightseeing, hopping on and off public transport frequently, and for new residents who are exploring their new home without yet committing to a monthly pass. If you're someone who's just moved here, perhaps with a lot of luggage, having everything sorted with companies like Sirelo handling your international removals can take one huge stress off your shoulders, leaving you more mental space to figure out these local intricacies like the Oyster card!
Different Types of Oyster Cards
While the standard blue Oyster card is what most people will use, there are a few variations worth knowing about, especially for those settling in long-term or for specific visitor types.
Firstly, there's the standard adult Oyster card. This is what you'll get initially, and it’s valid for anyone aged 18 and over. Then you have Visitor Oyster cards, which are specifically designed for tourists and can be purchased before you even arrive in the UK. They usually come with pre-loaded credit and some discounts, but they have a non-refundable activation fee and can't hold Travelcards for periods longer than a week. Generally, if you're planning on staying for a while, a standard Oyster card is more flexible.
For younger travellers, there are Oyster photocard schemes offering discounted travel: the 5-10 Zip Oyster card, 11-15 Zip Oyster card, and 16+ Zip Oyster card. These require an application and a photo, but they offer free travel or significant discounts on fares, which can make a huge difference to a family's budget. It's a key consideration for families moving to the UK with children, as navigating Schools and Education in the UK: A Complete Guide for Expat Families involves considering how your children will commute. Finally, for eligible older residents, the 60+ London Oyster Photocard and Freedom Pass offer free travel, but these are generally for long-term UK residents.
Your First Steps: How to Get and Load Your Oyster Card
The beauty of the Oyster card system is its accessibility. You can grab one almost anywhere you'd reasonably expect to find a transport hub, and topping it up is just as straightforward.
Where to Buy Your Oyster Card
Getting your hands on an Oyster card is surprisingly easy. Your first port of call will likely be any Tube (London Underground) station. Look for the ticket machines, which are usually multilingual and pretty intuitive. Select "Buy new Oyster card" and follow the prompts. You’ll pay a £7 non-refundable fee for the card itself, and then you can load it with Pay As You Go credit or a Travelcard. Many newsagents and convenience stores displaying the blue Oyster symbol, particularly around transport hubs, also sell and top up Oyster cards. These are known as Oyster Ticket Stops.
You can also purchase a Visitor Oyster card online before you travel, which can be convenient for tourists who want to hit the ground running, but remember the limitations mentioned earlier. For those of us making the The Complete Guide to Moving to the UK: Your First 90 Days, picking one up at your arrival airport (like Heathrow, which has a Tube station) is usually the quickest way to get started on your journey into the city. Just make sure you load enough credit for that initial trip!
Topping Up and Managing Your Balance
Keeping your Oyster card topped up is crucial to avoid any awkward moments at the barriers (we’ve all been there, trust me). Topping up is simple:
- At Tube Stations: Use the ticket machines. You can pay with cash or card. Just touch your Oyster card on the yellow reader, select "Top up Pay As You Go," choose your amount, and pay.
- Oyster Ticket Stops: These are local shops, often newsagents or convenience stores, that display the Oyster logo. Hand them your card and the amount you wish to add.
- Online: If you register your Oyster card (which I highly recommend, and we'll cover later), you can top it up online via the Transport for London (TfL) website or the TfL Oyster and contactless app. The credit usually takes about 30 minutes to become available to pick up by touching your card at any Tube station, bus, DLR, or Overground station reader.
A common expat worry is running out of data on your phone while trying to navigate or top up on the go. Having a good mobile plan with sufficient data, or even an eSIM from a provider like Airalo, can be a real saviour for these moments, especially when you're constantly checking maps or the TfL Go app!
Understanding Pay As You Go Fares and Daily Caps
This is where the Oyster card truly shines in terms of value. Pay As You Go simply means you pay for each journey individually, and the cost depends on a few factors:
- Zones: London is divided into fare zones (1-9), with Zone 1 being the city centre. Fares increase the more zones you travel through.
- Time of Travel: Peak fares (Monday to Friday, 06:30 to 09:30 and 16:00 to 19:00, excluding public holidays) are higher than off-peak fares.
The magic, however, is in the daily cap. The system keeps track of all your journeys within a single day (from 04:30 to 04:29 the next day) and automatically stops charging you once your total fare reaches a certain amount. This cap is equivalent to the cost of a one-day Travelcard for the zones you’ve travelled in. So, whether you make three Tube journeys or ten bus trips, you won't pay more than the daily cap. This is invaluable, especially when you’re exploring or commuting across several zones. For example, if you're travelling between Zone 1 and Zone 2, once your cumulative fares hit the Zone 1-2 daily cap, all subsequent journeys that day within those zones become effectively free.
There's also a weekly cap, which applies if you travel extensively from Monday to Sunday. Again, the system will automatically cap your spending at the price of a 7-day Travelcard for the zones you've used most frequently. This is brilliant for those of us who commute regularly but might not want the commitment of a monthly pass. Understanding this capping system is key to managing your Cost of Living in the UK for Expats effectively when it comes to transport.
Navigating London with Your Oyster Card: Tapping In and Out
Using your Oyster card once you have it is largely intuitive, but there are specific rules for different modes of transport that are essential to follow to avoid overpaying.
Using Your Oyster on the Tube, DLR, and Overground
For the London Underground (Tube), Docklands Light Railway (DLR), London Overground, Elizabeth line, and National Rail services where Oyster is accepted, the rule is simple and non-negotiable: always tap in at the start of your journey and always tap out at the end. You'll find bright yellow card readers at the entry and exit barriers of every station. Simply hold your Oyster card flat against the yellow reader until you hear a beep and see a green light.
Forgetting to tap out is one of the most common mistakes newcomers make. If you don't tap out, the system assumes you've made the longest possible journey from your starting point, charging you the maximum fare, which can be quite hefty – sometimes upwards of £9 or £10 for a single trip. This is a painful lesson many of us have learned the hard way! So, even if the gates are open, always remember to tap. This is crucial for accurately calculating fares based on the zones and times of travel, which is covered in more detail in Understanding the Tube, National Rail and Bus Networks in the UK.
Using Your Oyster on London Buses and Trams
Buses and trams operate a flat fare system, meaning the cost of a journey is the same regardless of how far you travel. On these services, the rule is slightly different: you only need to tap in when you board the bus or tram. There are no readers for tapping out. Just tap your Oyster card on the yellow reader near the driver’s cab (or at the tram stop before boarding), wait for the green light, and find a seat.
A single bus or tram journey currently costs £1.75. What's even better is the "Hopper Fare." This allows you to make unlimited bus and tram journeys within one hour of first touching in, all for the price of a single fare. So, if you need to switch buses to reach your destination, you won't be charged again within that hour. This is an incredible money-saver for short distances and a fantastic feature of The Expat Guide to Public Transport in the UK.
Common Pitfalls and Troubleshooting
Despite the system's general user-friendliness, there are a few common issues you might encounter:
- "Card Not Accepted" / Red Light: This usually means you either don't have enough credit, your card is expired (unlikely for a standard Oyster), or there's a problem with the card itself. Check your balance at a machine or online. If you've just topped up online, remember you need to 'pick up' the credit by tapping at a reader after about 30 minutes.
- Forgetting to Tap Out: As mentioned, this leads to a maximum fare. If you realise you forgot, you might be able to get a refund for the difference by going to a ticket office or, more easily, by logging into your registered Oyster account online. This is another reason why registration is so important.
- Using the Wrong Card: In the rush, sometimes people tap their debit card instead of their Oyster, or vice-versa. Always double-check which card you're presenting to the reader, especially if you also use contactless bank cards for travel.
- Card Clashing: If you have multiple contactless cards in your wallet (e.g., Oyster and a contactless bank card), make sure you present only the one you intend to use. Keeping them separate or using a wallet that blocks other cards can prevent accidental charges to the wrong card.
Beyond the Basics: Fares, Caps, and Smart Choices
Once you're comfortable with tapping in and out, it's worth understanding the nuances that can save you even more money and help you choose the best payment method for your travel habits.
The Convenience of Contactless Bank Cards
For many, especially those who make infrequent trips or prefer not to manage a separate card, a contactless debit or credit card is an excellent alternative to an Oyster card. Most UK-issued bank cards, and many international ones, come with contactless payment functionality. Just like an Oyster card, you tap in and out at the yellow readers. The system works identically, applying Pay As You Go fares and automatically calculating daily and weekly caps (Monday to Sunday).
The main advantage of contactless is not needing to carry or top up a separate card. It's incredibly convenient. However, there are a few things to keep in mind:
- International Cards: While many international contactless cards work, some may incur foreign transaction fees from your bank, which can add up. Check with your bank first.
- One Card Policy: Crucially, always use the same contactless card for all journeys within a day or week to ensure the caps are applied correctly. If you switch between different bank cards, even if they're linked to the same account, the system won't recognise them as the same payment method, and you'll end up paying more.
- Payment Limits: Your bank might have a daily contactless spending limit, which could be an issue if you're travelling extensively.
For many new residents, getting a local UK bank account is one of the first things they do, and this often comes with a contactless card. If you're still navigating banking, remember that How to Open a Bank Account at a UK Bank as a Newcomer is a critical step in setting up your finances here.
When a Travelcard Might Be a Better Option
While Pay As You Go (whether Oyster or contactless) is fantastic for flexibility, a Travelcard can be more economical if you know you’ll be travelling extensively within specific zones for a set period.
- Daily Travelcards: The daily cap on Pay As You Go effectively acts as a daily Travelcard. There's no real benefit to buying a separate paper Daily Travelcard unless you specifically need a paper ticket for record-keeping or if your contactless card isn't working.
- 7-Day Travelcards: These are ideal if you commute daily for a whole week, particularly Monday to Sunday. Loading a 7-day Travelcard onto your Oyster card will often be slightly cheaper than hitting the weekly cap on Pay As You Go, as it guarantees you that fixed price upfront regardless of how much you travel.
- Monthly or Annual Travelcards: For those living and working in London, a monthly or annual Travelcard offers the greatest savings. If you've settled into a routine and know your commute will take you through the same zones regularly, these are almost always the most cost-effective solution. They are loaded directly onto your Oyster card. You can compare the cost of these with the average salary in the UK to see how much of your income will go towards transport.
The decision between Pay As You Go and a Travelcard often comes down to predictability. If your travel patterns are consistent, a Travelcard is likely better. If you’re more of a spontaneous explorer, Pay As You Go with its automatic capping is your friend.
When to Stick with Your Oyster Card
Even with the rise of contactless payments, the Oyster card still holds a few unique benefits:
- Child Fares: As mentioned, discounted travel for children (Zip Oyster photocards) is only available on an Oyster card. Contactless cards will always charge adult fares.
- Holding Travelcards: While contactless bank cards can hit a weekly cap, you cannot load a specific Travelcard (e.g., a monthly or annual pass) onto a bank card. Only an Oyster card can hold these longer-term passes. This is a crucial distinction for commuters.
- Accessibility for Non-UK Bank Accounts: If your international bank card isn't supported for contactless payments on the TfL network, or if your bank charges high foreign transaction fees, an Oyster card becomes your default best option. You can load it with cash or use a debit/credit card to top up at a machine.
- Visitor Oyster Benefits: While perhaps not ideal for long-term expats, Visitor Oyster cards sometimes come with special offers or discounts at attractions, which can be a nice bonus for tourists.
Ultimately, the choice between Oyster and contactless will depend on your individual circumstances and travel habits. Many Londoners (myself included) keep an Oyster card for their monthly Travelcard, and use a contactless bank card for occasional extra journeys outside of their regular zones.
Keeping It Smooth: Managing Your Oyster and What to Do If Things Go Wrong
Even the best systems have their glitches, and knowing how to manage your Oyster card proactively, and what steps to take when issues arise, can save you a lot of grief.
Registering Your Oyster Card and Online Account
This is perhaps the single most important piece of advice I can give you: register your Oyster card online. It takes just a few minutes on the TfL website or through the TfL Oyster and contactless app, and it links your physical card to an online account. You'll need the 10-digit number from the back of your Oyster card.
Why bother? Registration unlocks a host of benefits:
- Balance Protection: If you lose your registered Oyster card or it's stolen, you can report it to TfL, and they can block the card and transfer any remaining Pay As You Go balance or Travelcard onto a new Oyster card. Without registration, that money is simply gone.
- Journey History and Fares: You can view your full journey history, check the fares you've paid, and see how much credit you have. This is incredibly useful for reconciling expenses or if you suspect you've been overcharged.
- Online Top-ups: As mentioned before, you can easily top up your Pay As You Go credit or buy Travelcards online.
- Refunds: It makes applying for refunds for forgotten tap-outs or unused Travelcards much simpler.
Think of it like registering your phone with your provider – if it's lost, you can recover your number. Similarly, registering your Oyster protects your funds.
Getting Refunds for Unused Balance
Sometimes you leave London with a small amount of credit left on your Oyster card, or perhaps you bought a Travelcard you didn't fully use. Getting a refund is possible, but the process varies slightly depending on the amount.
- Small Balances (£10 or less): If you have £10 or less in Pay As You Go credit, you can get an instant refund at any Tube station ticket machine. Just touch your Oyster card, select "Oyster refund" or "Refund existing balance," and the machine will dispense the cash. This is a great tip for tourists or those of us who are How to Handle a Medical Emergency While Travelling from the UK and need to close out accounts.
- Larger Balances or Unused Travelcards: For amounts over £10, or for unused Travelcards, you'll generally need to apply for a refund online via your registered Oyster account or contact TfL directly. If you apply online, the refund can be transferred to a UK bank account, or if you're an international visitor, sometimes to a credit card or via cheque, though the latter can take a while. It's much simpler if your card is registered.
What to Do if Your Card is Lost or Stolen
Losing your Oyster card feels like a punch to the gut, especially if you had a decent amount of credit on it. This is precisely why registration is your best friend.
- Report It Immediately: As soon as you realise your card is gone, log into your registered Oyster account online or call TfL customer services. Report the card as lost or stolen.
- Block and Transfer: TfL will block the card, preventing anyone else from using your remaining balance. They can then transfer any Pay As You Go credit or Travelcard entitlements to a new Oyster card, which you can either collect at a station or have mailed to you. You'll need to buy a new Oyster card (and pay the £7 fee again), but at least your funds aren't lost.
- Unregistered Cards: If your card isn't registered, unfortunately, your options are extremely limited. Without any way to prove ownership or track the card's balance, TfL cannot issue a refund or transfer funds. This is a hard lesson, but one many expats learn. So, please, take five minutes and register your card!
The Oyster card is more than just a payment method; it's a symbol of navigating London like a true local. Mastering its use will not only save you money but also grant you a sense of confidence as you explore this incredible city. Whether you're commuting to your new job or simply enjoying a weekend outing, your Oyster card will be your constant companion on the journey.
Disclaimer
Please note that transport fares, fees, and rules are subject to change by Transport for London (TfL). While every effort has been made to ensure accuracy in this guide, it is always advisable to check the official TfL website for the most current information before making travel decisions or purchases. This guide provides general information and does not constitute official travel advice.